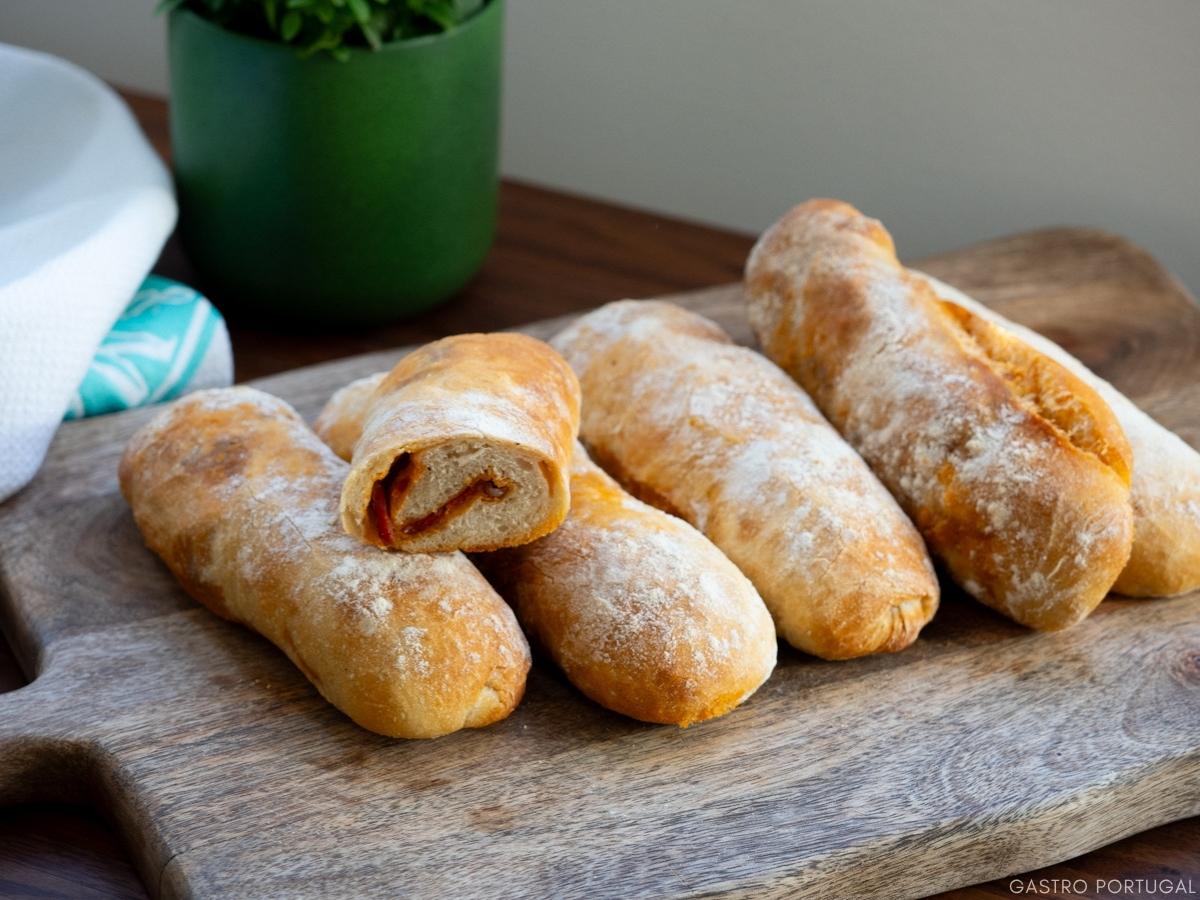
Pão com Chouriço is a traditional Portuguese bread and a popular snack in fairs and festivals all over the country. It’s quite simply a bread roll filled with thin slices of Portuguese chouriço. It’s absolutely delicious and one of my favourite Portuguese street foods! Keep reading to learn how to make this delicious Chouriço Bread with a conventional oven at home!
Pão com Chouriço: A Popular Portuguese Street Food
Every Portuguese fair or festival, no matter the celebration or time of year, will have at least one pão com chouriço vendor. They make and bake it on the spot, and are quite easy to find, you just have to follow the smell!
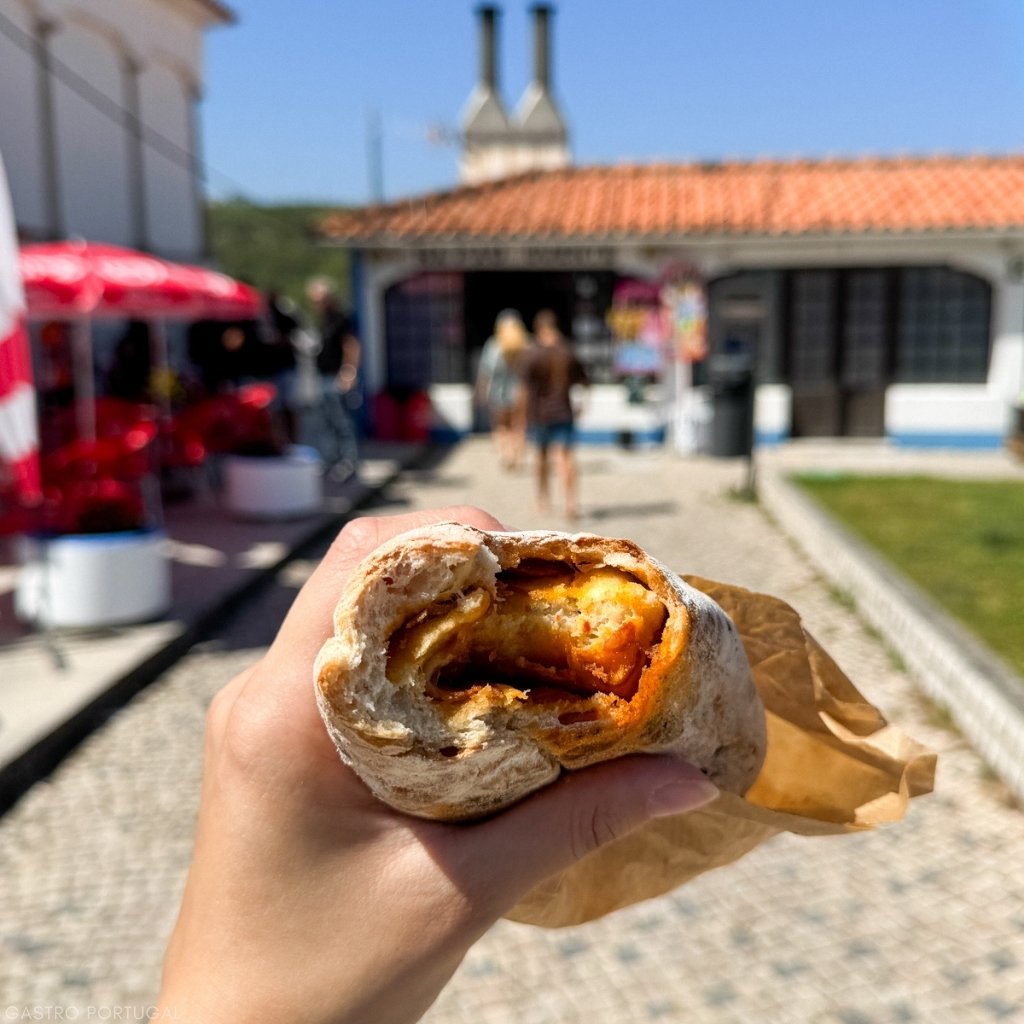
The Portuguese will tell you it’s the best snack to have after a night out, and although I haven’t tried that yet, I find it easy to believe. It combines the deliciousness of Portuguese bread with the rich and smoky Portuguese chouriço which is baked in the dough. You will also find different versions of this classic made with different Portuguese sausages such as farinheira and morcela.
Homemade Chouriço Bread – The Ingredients
This Portuguese chouriço bread is super simple to prepare. The dough only calls for 5 ingredients. That’s flour, water, yeast, salt, and a little olive oil. You will get better results if you use a strong bread flour. In Portugal the best commercial options are the ones labelled ‘farinha T65’. I always opt for instant dry yeast which doesn’t need to be activated and can be mixed directly to the dough. You can also use fresh yeast, but keep in mind you will have to increase the yeast amount. You will also need a good quality Portuguese chouriço. If you can get your hands in black pork chouriço, that’s even better!

Homemade Chouriço Bread – The Method
The whole process of making this bread, from start to finish, is quite straightforward. It’s a basic bread dough made with flour, instant dry yeast, salt, warm water, and a little touch of extra virgin olive oil.
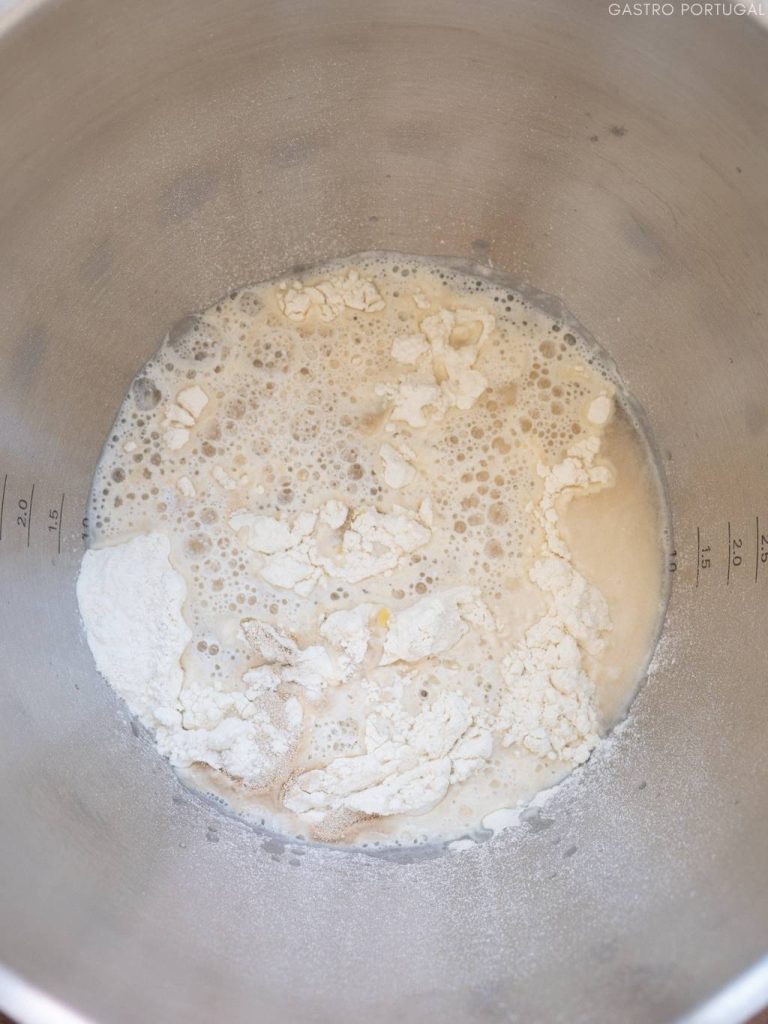
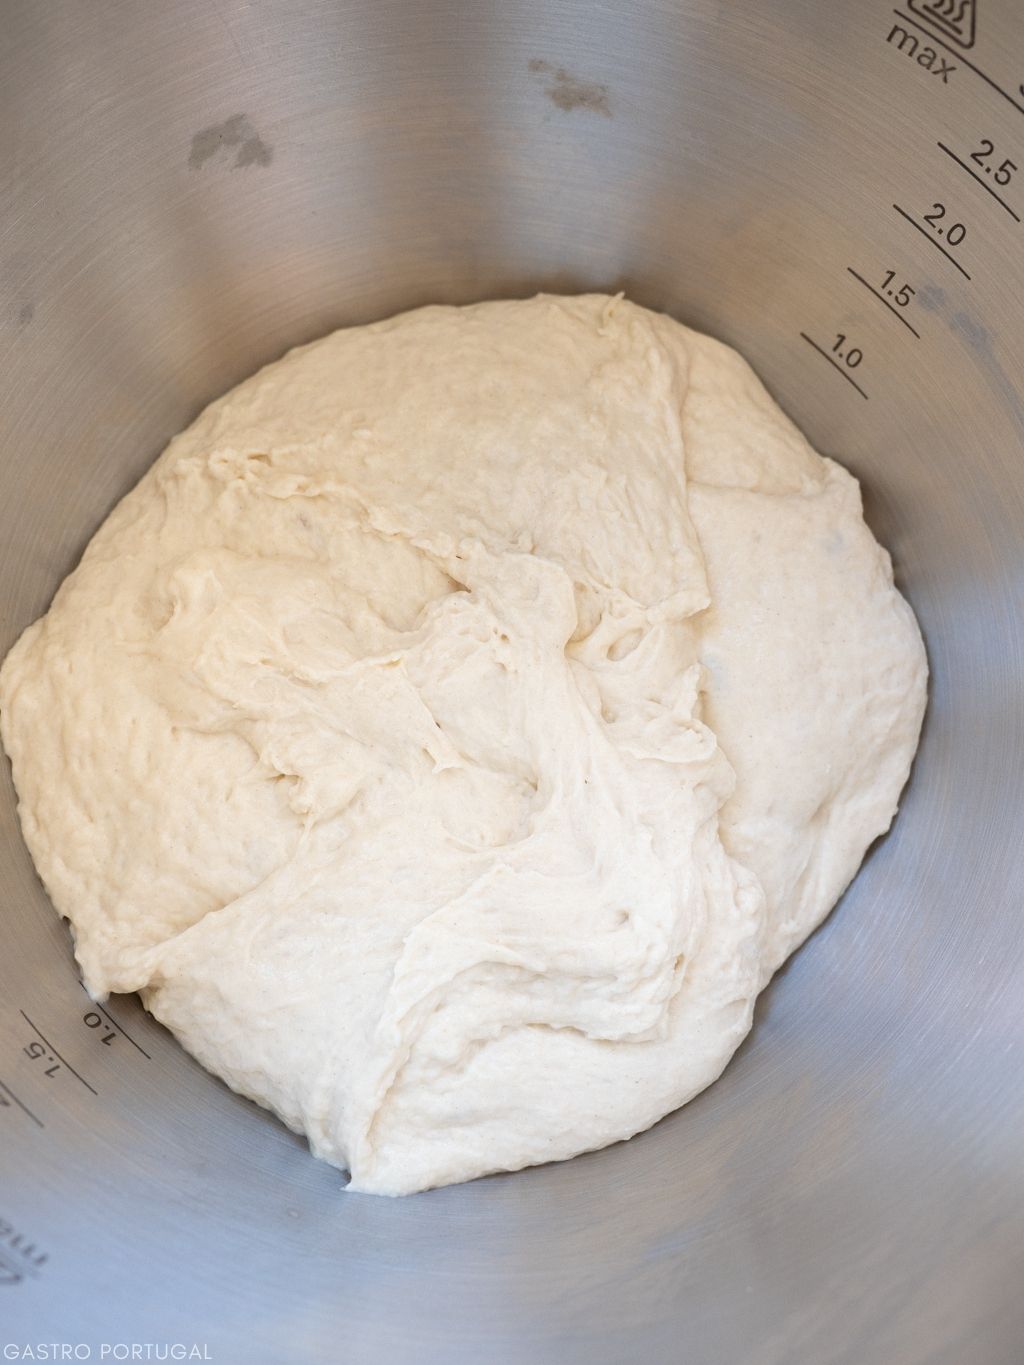
We start by adding our dough ingredients into a bowl. Since I’m using a stand mixer to knead the dough, I add all that straight into the bowl of the mixer. I then mix at low to medium speed with the hook attachment for 10 minutes, pausing halfway through to scrape the sides and bottom of the bowl. If you are kneading by hand, you can mix it with a wooden spoon until the dough comes together before transferring to a surface dusted with flour. Kneading by hand will take you roughly double the time. The dough is on the wetter side, so don’t worry if it feels too wet, as the dough rises and the gluten develops, it should gain structure.
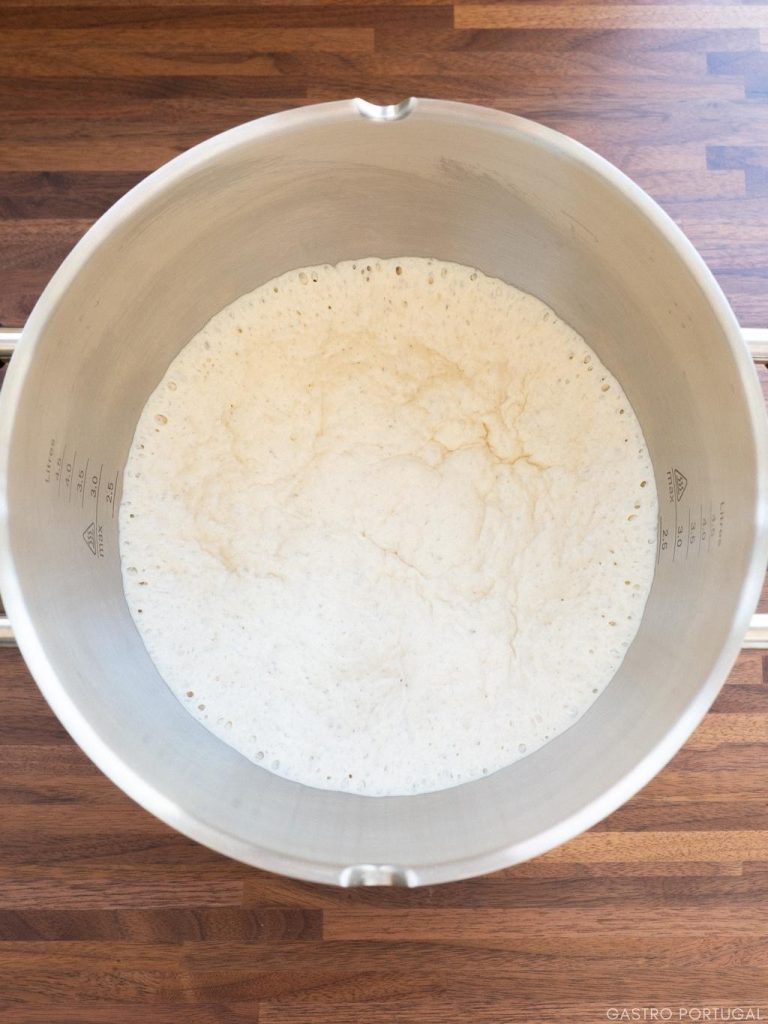
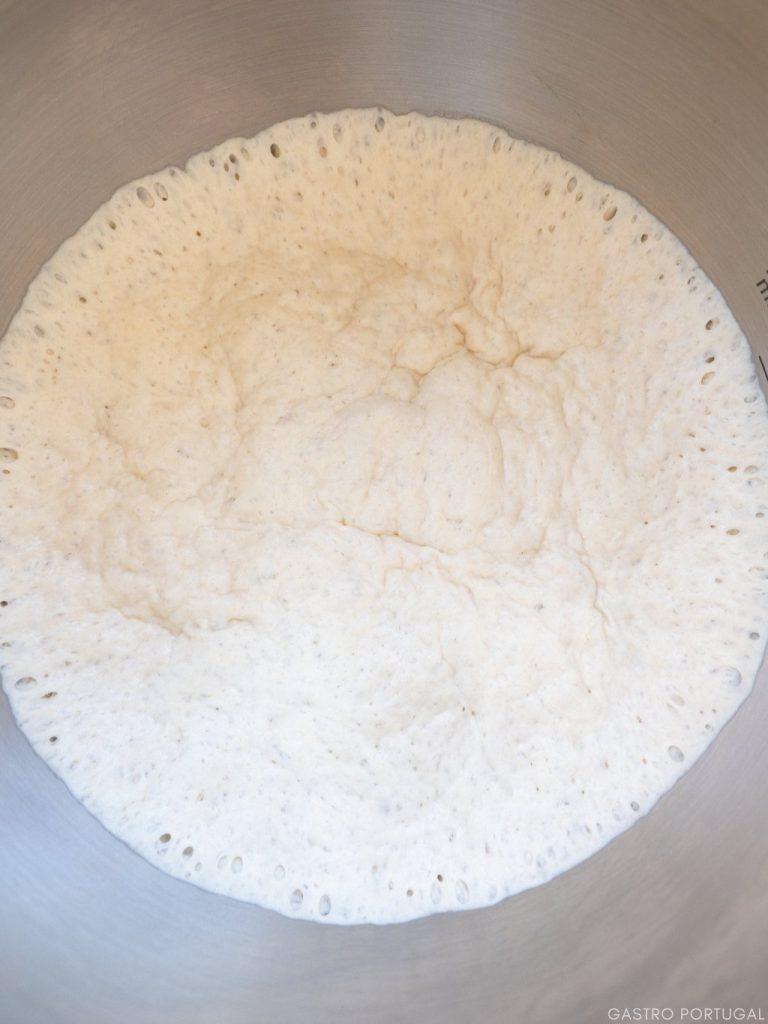
We then cover the bowl with a damp cloth and let it proof in a warm part of the house for about 1 hour or until it doubles in volume.The dough should be bubbly and jiggly. Transfer your bread dough to a clean surface dusted generously with flour. Shape it into a ball, then halve it. Split each half into three equal parts.
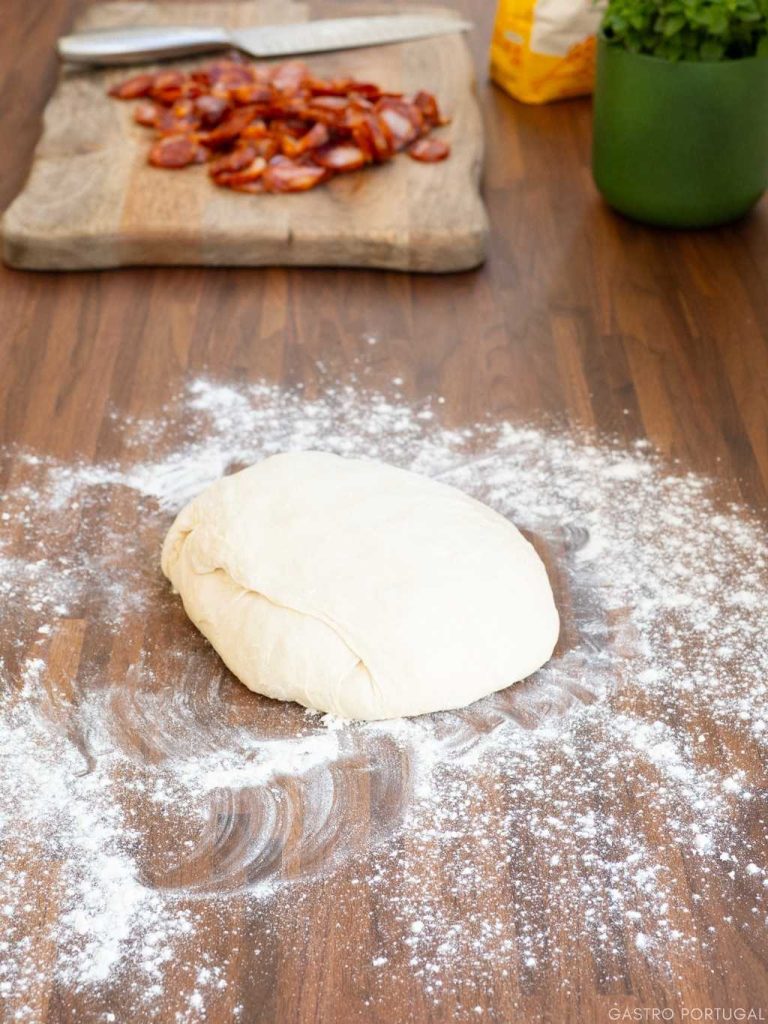
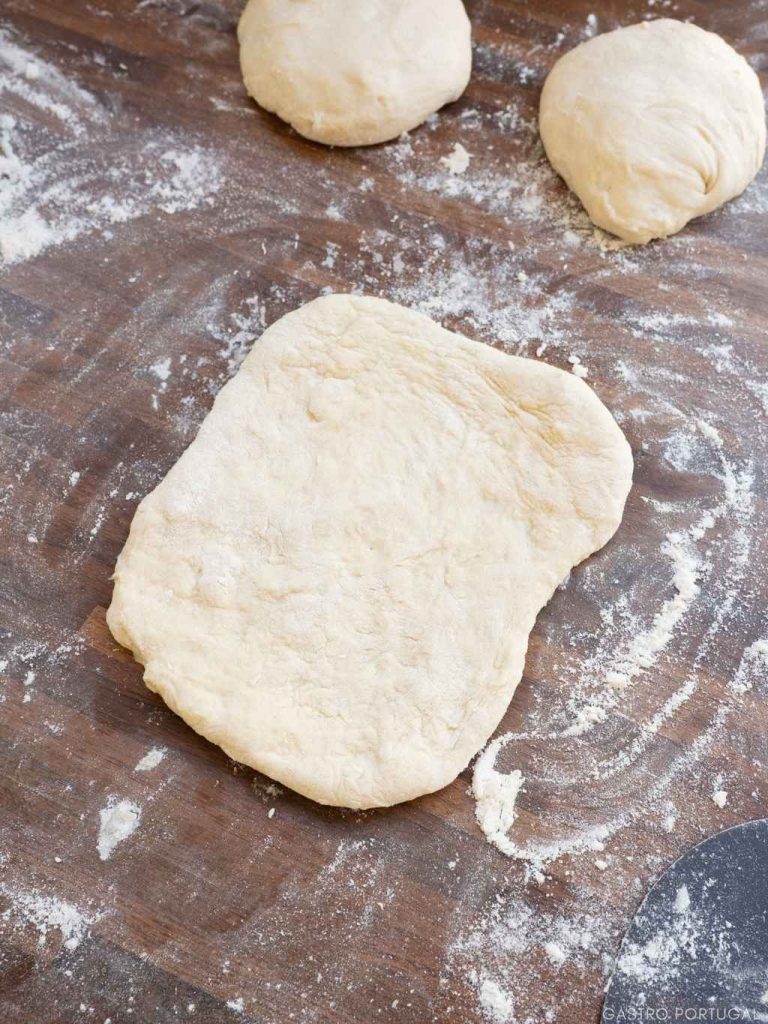
To shape you rolls, start pressing one of the parts of dough with the tip of your fingers to flatten it into a rectangle of roughly 1cm thickness. The rectangle doesn’t need to be perfect. Layer your thinly sliced chouriço on top of the dough leaving a small border. Roll tightly into a log, then press the ends together then tuck underneath. I also like to press the rolls against the counter gently rocking them back and forth to shape them. Repeat the process with the remaining dough.
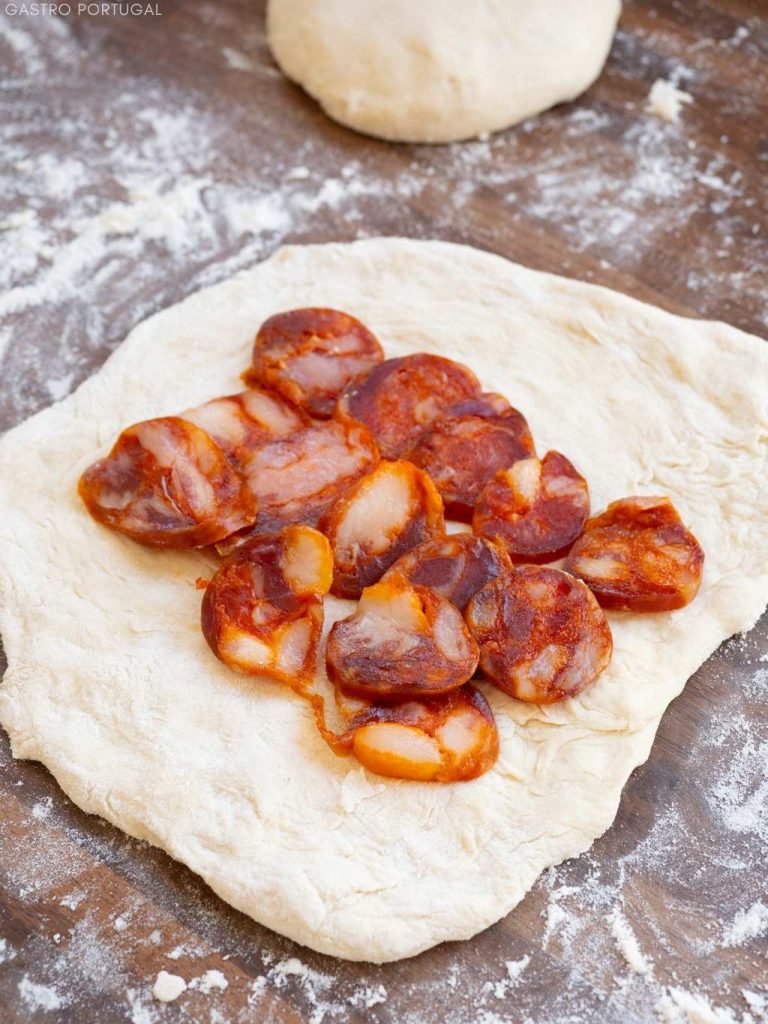
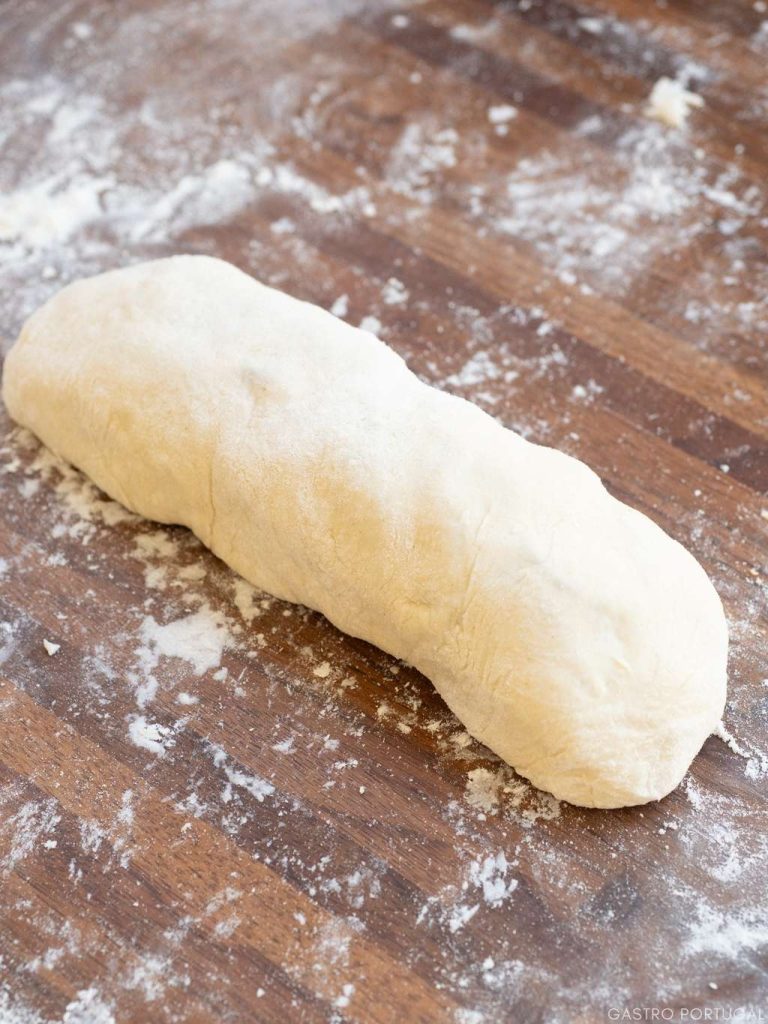
Transfer the rolls to a large baking tray dusted with flour or lined with parchment paper. Let them proof for another 45 minutes to 1 hour, then give them a little dusting of flour on top. Meanwhile, preheat your oven to the hottest temperature possible with the fan setting on (mine is 240°C). Place a separate baking tray at the bottom of the oven to heat too.
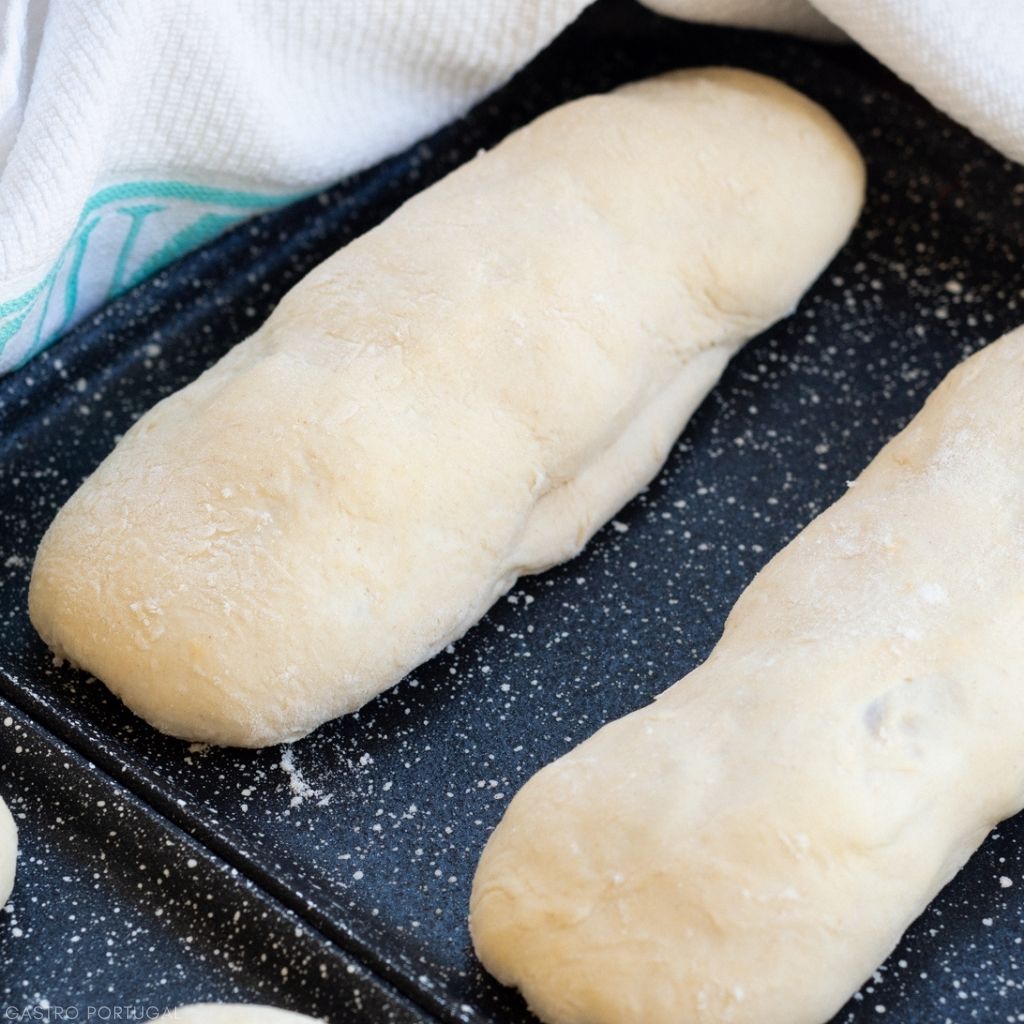
Once the oven is hot, pop your tray with the chouriço bread in, then immediately and carefully pour cold water inside the bottom tray and close the oven. This creates extra moisture that slows down the formation of the crust which can prevent your bread from rising. It also prevents the crust from getting too charred too quickly.
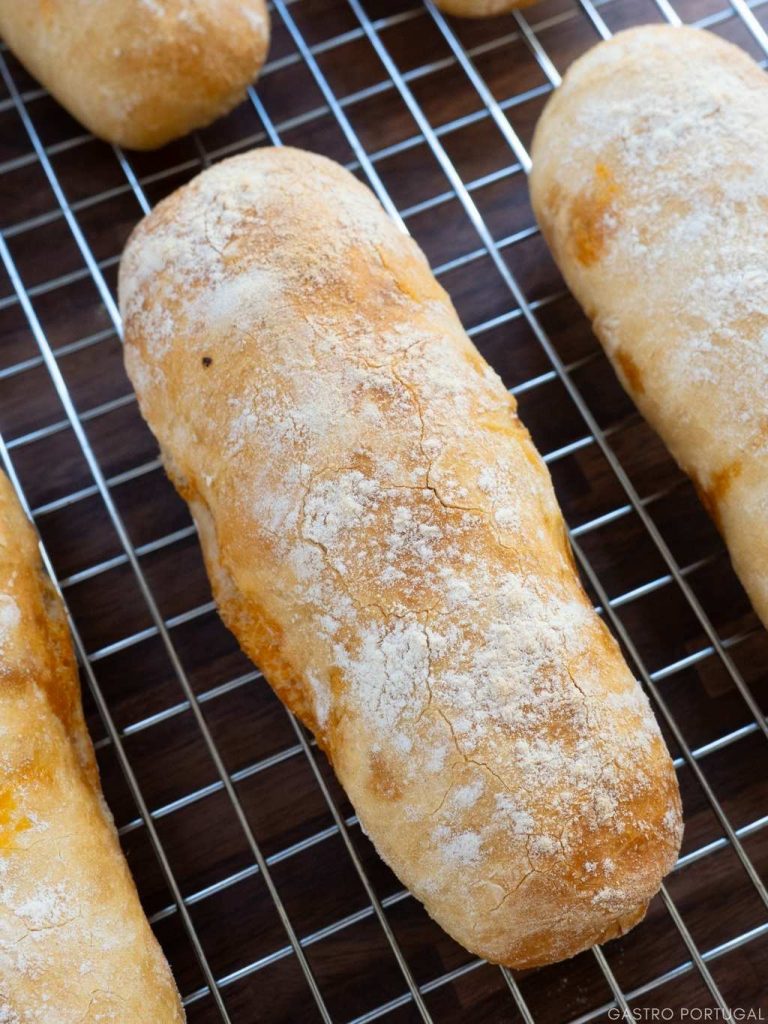
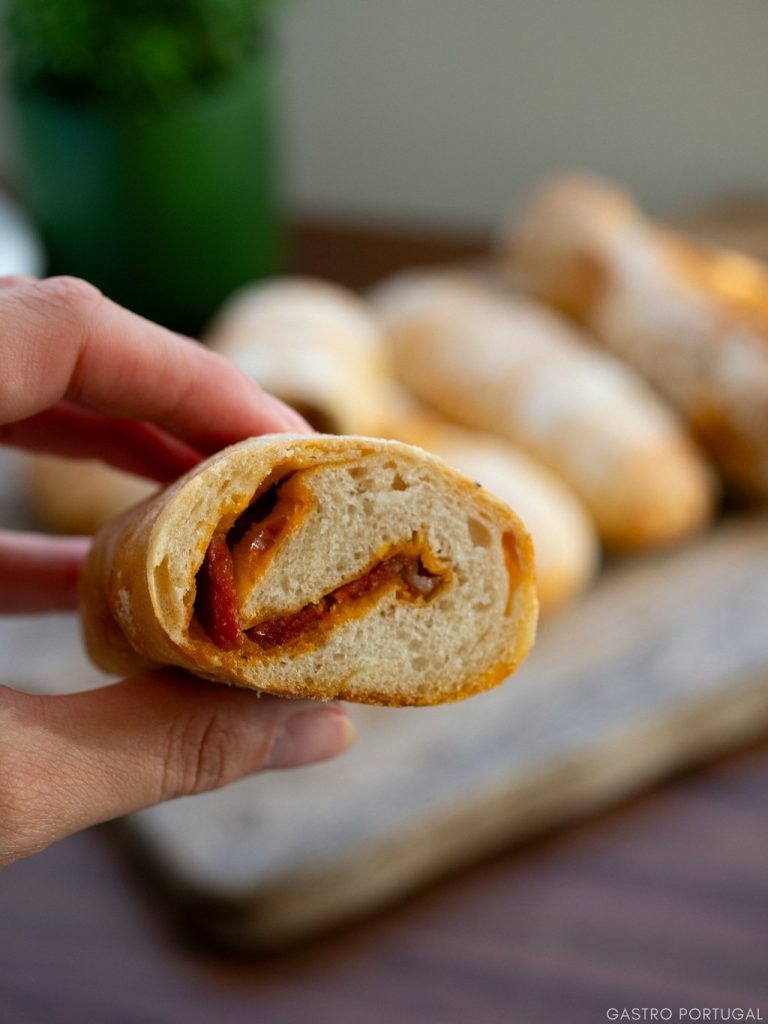
Bake for about 15-20 minutes, the crust should have a beautiful golden colour. To check if they are baked properly, carefully lift one of the pão com chouriço using a clean cloth. Give it a little tap at the bottom of it, it should produce a hollow sound. Allow it to cool for a couple of minutes before enjoying it!
How to Make Pão com Chouriço – Traditional Portuguese Chouriço Bread

Pão Com Chouriço – Authentic Portuguese Chouriço Bread
6
servings2
hours20
minutes15
minutes457
kcalPão com Chouriço is a traditional Portuguese bread and a popular snack in fairs and festivals all over the country. It’s quite simply a fresh bread roll baked with thin slices of Portuguese chouriço.
Ingredients
1 Chouriço Sausage (200g)
500 g Strong Bread Flour
300 ml Warm Water
6 g Instant Dry Yeast
10 g Salt
1 tbsp Extra Virgin Olive Oil
Extra Flour to Dust
Directions
- Start by adding the flour, warm water, instant dry yeast, and salt directly into the bowl of a stand mixer. Fit in the hook attachment, then mix at medium to low speed for about 10 minutes, pausing halfway through to scrape sides and bottom of the bowl. If you are kneading by hand refer to instructions above.
- Cover the bowl with a damp cloth and let it proof in a warm part of the house for about 1 hour or until it doubles in volume. The dough should be bubbly and elastic.
- Transfer your bread dough to a clean surface dusted generously with flour. The dough is on the wetter side, but if it’s too sticky to work with you can dust it with more flour. Shape it into a ball, then halve it. Split each half into three equal parts.
- To shape your pão com chouriço, grab one of these parts, then start pressing with the tip of your fingers to flatten it into a rectangle of roughly 1cm thickness.
- Layer your thinly sliced chouriço on top of the dough leaving a small border. Roll tightly into a log, then press the ends together then tuck underneath. Press the rolls against the counter gently rocking them back in forth to shape. Repeat the process with the remaining portions of the dough.
- Transfer the rolls to a large baking tray dusted with flour or lined with parchment paper, leaving some space between them. Let them proof for another 45 minutes to 1 hour.
- Meanwhile, preheat your oven to the hottest temperature possible with the fan setting on (mine was 240°C). Place a separate deep baking tray at the bottom of the oven to heat too.
- After the rolls finish proofing, gently dust them with some more flour.
- Once the oven is hot, pop your chouriço bread tray in, then immediately pour cold water inside the bottom spare tray to create steam.
- Bake for about 15-20 minutes or until their crust look golden and they feel light when you lift them. Allow them to cool for a couple of minutes before tucking in!
Recipe Video
Tips
- The water tray trick helps create extra moisture in the oven that slows down the formation of the crust which can prevent your bread from rising. It also prevents the crust from getting too charred too quickly.
- To check if the rolls are baked properly, carefully lift one of them using a clean cloth. Give it a little knock at the bottom of it, it should produce a hollow sound. I use this technique with most bread I bake!